Design Course
Freehand Sketching
Rediscovering the Act of Sketching
by
Day 23
Introduction to Day 23
Today, under Warm up, we do a quick recap of Workouts in all sessions, upto Day 22.
For Workout, we learn to draw basic Volumes in Perspective (cubes and cylinders) and apply our new understanding of drawing spheres in perspective to draw 'methods-free' perspective of simple objects as naturally as we can.
In Sense of Perspective Space, we learn how to manipulate a cube i.e. rotate/tilt it accurately in space today.
Preparation:
You will need NO grids for today's Workout session.
D23_Base Cube with ref-ellipse-at 45 deg
D23_Base Cube with ref-ellipse-at 30-60 deg
D23_Base Cube with ref-ellipse-at 45 deg-solution
D23_Base Cube with ref-ellipse-at 30-60 deg-solution
Warm up
15 minute Exercise:
0-5 mins : Practice very fast hand and body movements while drawing Horizontal, Vertical and Inclined Lines, Curvatures, Radial Lines and Rings, followed by various Sinuous Lines and Springs.
5-15 mins : Now, repeat the various workouts covered in Session-1-5 WITHOUT the underlay grids and on a LARGE SURFACE. As a warm up exercise, the focus must be on maintaining correct hand and body movement while drawing the lines fluently.
While drawing these, remember to:
1. Draw them for various lengths, diameters and radii, as we practiced earlier.
2. Draw lines in either direction and curvatures, both clockwise and anti-clockwise.
3. Draw them at various pace - fast, slow, fast to slow in a single line, etc.
This practice of initially drawing the lines fast and then slowing down will help your body get into smoother drawing action for the workouts and perspective exercises ahead.
Do ensure that you keep aside a few minutes to draw lines and planes in perspective space.
<Warm up Ends>
Workout
1. Aim: To get an Intuitive Understanding of Volumes in Perspective Space
• Improve perspective visualization skills
Today we initially mark only the Vanishing Points as reference, and then proceed onto simply drawing without any reference markings on the drawing sheet. Today's session focuses on all kinds of Volumes in Perspective Space
(a) Perspective Cubes - freehand
(b) Perspective Cylinders - freehand
(c) Simple objects in Perspective Space
NOTE: This day does not utilize any grids.
Volumes in Perspective Space
(a) Cubes in Perspective Space
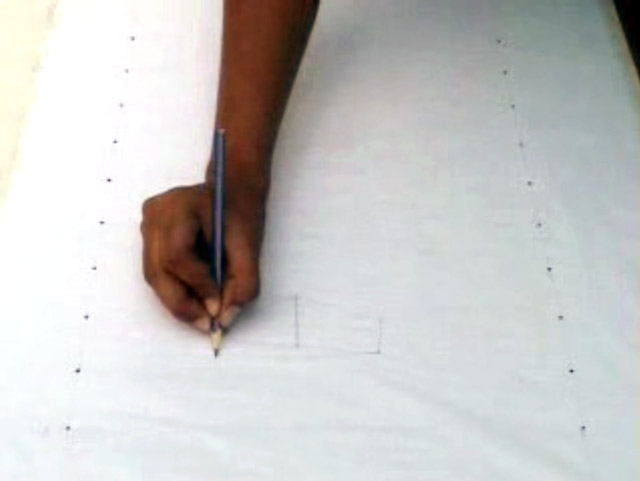
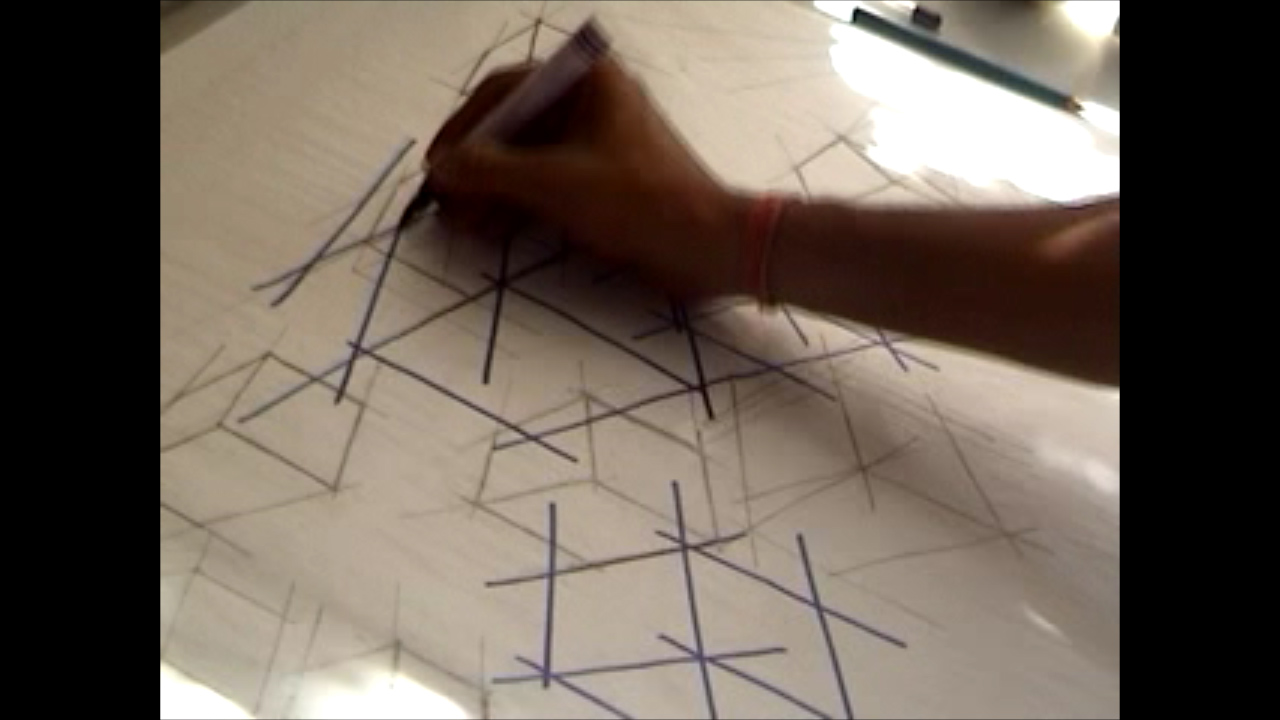
For this exercise, you are only to feel the vanishing points and draw. As far as possible, avoid lifting the drawing tool and draw with minimum breaks to the line.
Note: As discussed earlier, ensure that you practice drawing perspective cubes both above as well as below the horizon line. You may choose to situate the cubes at different horizontal distances from the centre for this. Notice distortions as you move away from the central area, as discussed on the previous day.
with vanishing lines+without - video -
Video: Perspective Cubes in Space - no vanishing lines
OR
video @4:24 - shroud
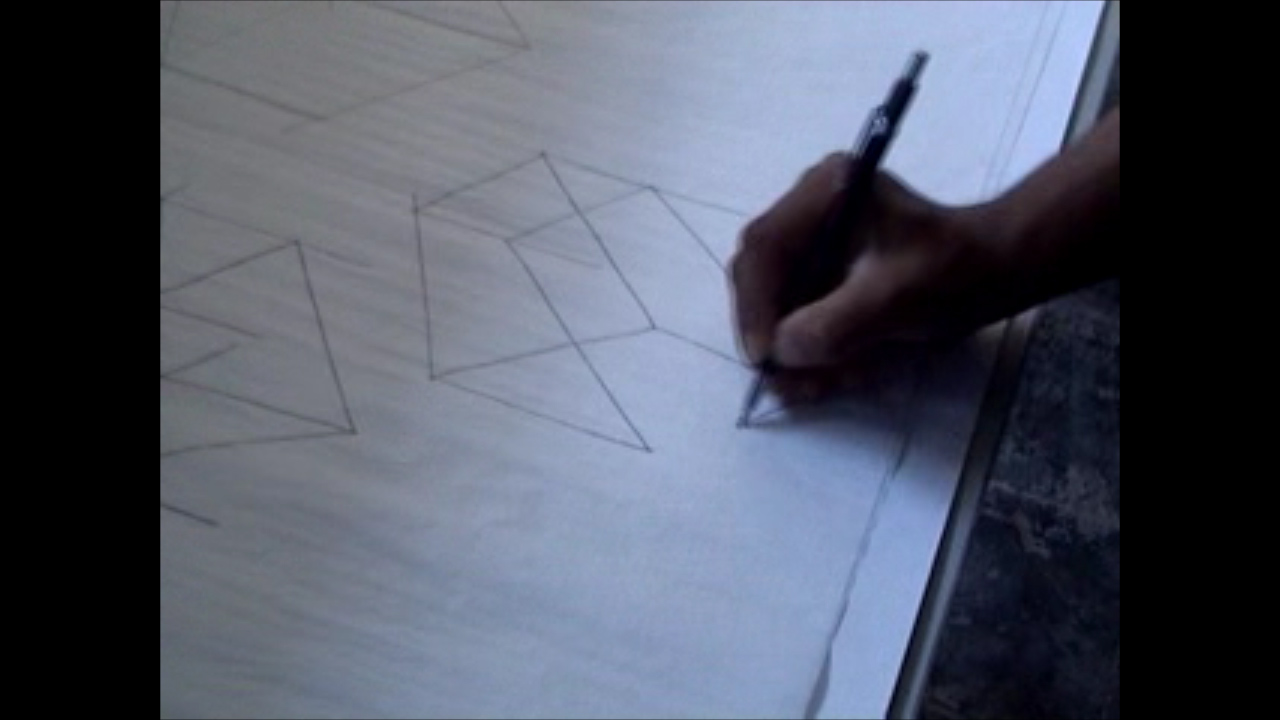
Perspective Line - Cubes in Space
The above exercise is practiced further to be able to draw cubes without drawing the perspective lines. The lines that form the cube, if extended, should fall on a point in the grid.
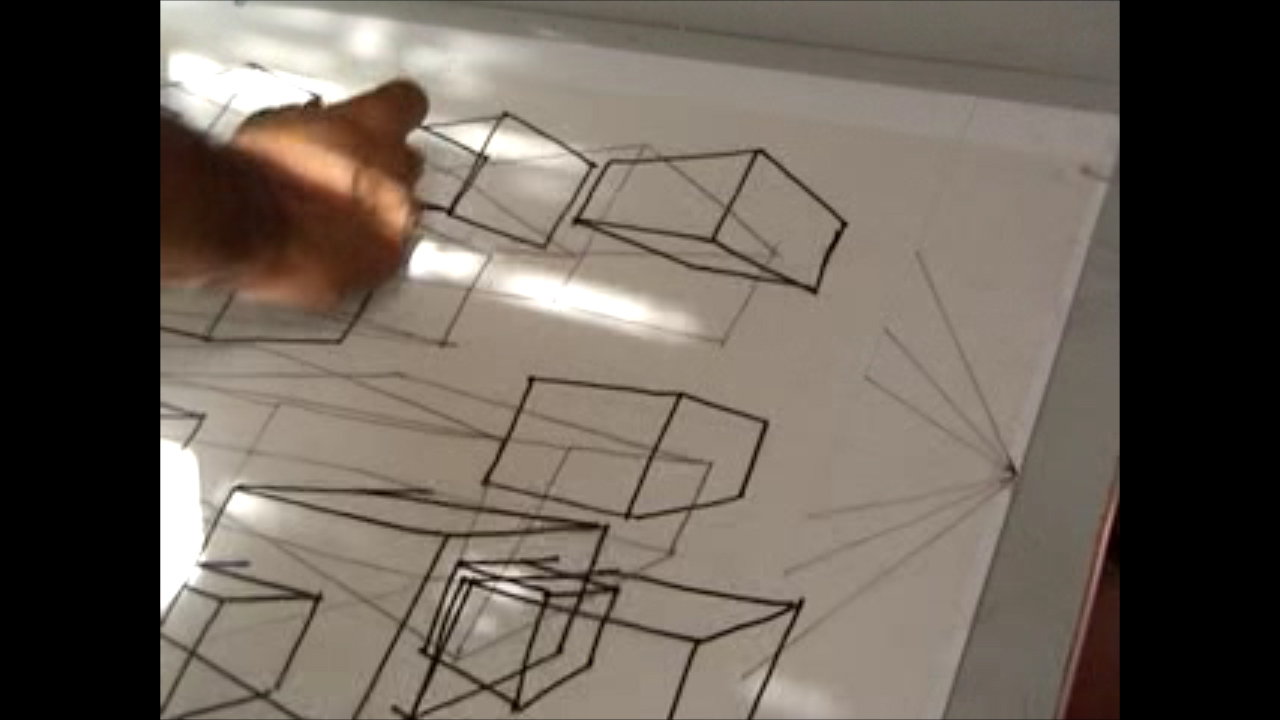
hOW TO DRAW THIS?
CUBES IN SPACE VIDEO VIDEO @7:49

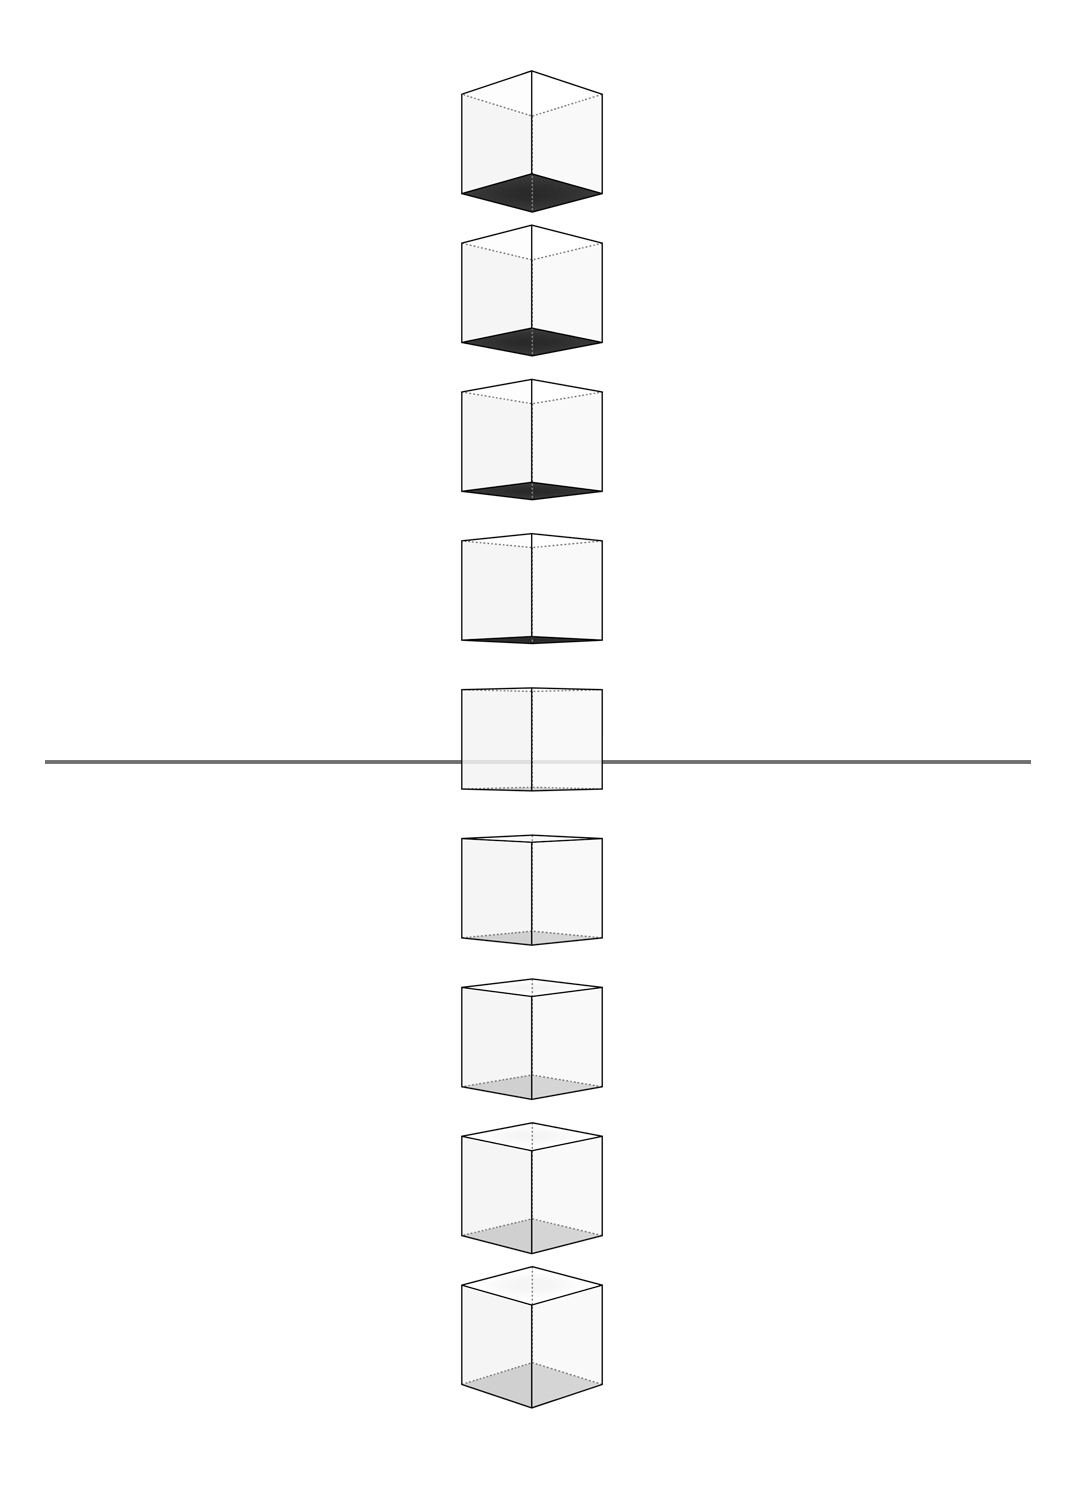
Cubes in Perspective Space
Note: Notice how the degree of skew increases as one goes further away from the horizon line.
22.8) Circular Planes in Perspective - 1 sheet - 10 mins
Do you remember the bottle exercise on day 10 when we drew ellipses to represent circles in perspective space? Let us try drawing them intuitively now. How will the circles look if placed vertically on a perspective

Circular Planes in Perspective Space
Repeat the above exercise, without using an underlay grid, for the following diameters.
(a) 5 cm
(b) 7 cm
(c) 10 cm
(d) 15 cm
Development of Cylinders using Short Perspective Lines
Similarly, on a blank sheet with only a central horizon line and two marked VPs, draw cylinders in space. You may use perspective lines initially, for practice.
As you saw in case of circular planes in space above, which were represented as ellipses in perspective, the minor axes increase as one moves away from the horizon line. So now, in order to represent a cylinder in space correctly, the top and bottom surfaces must transform appropriately.
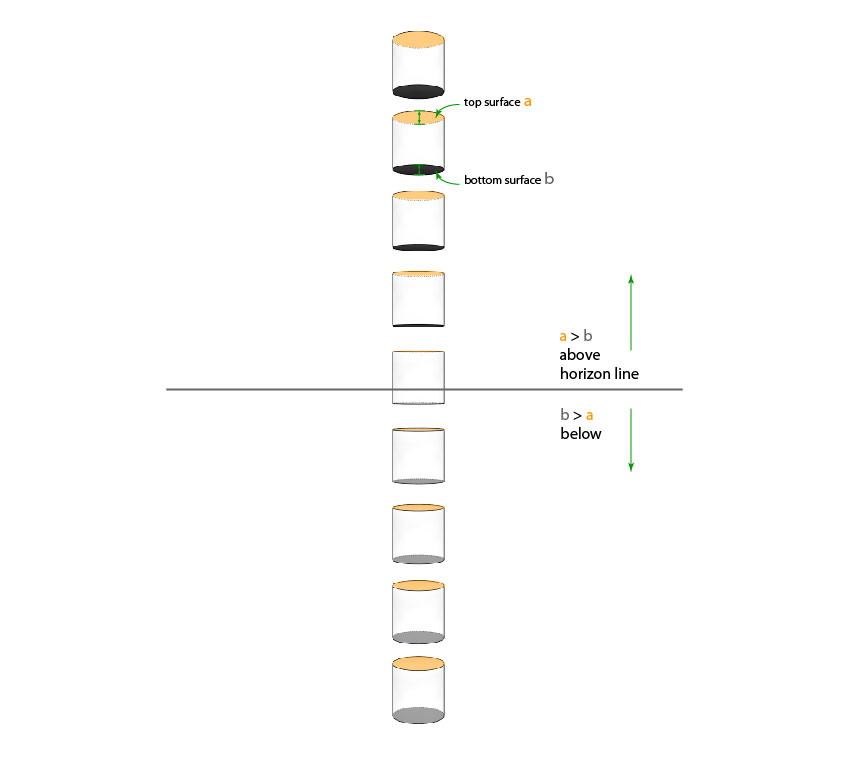
Image 23.3: Perspective Cylinders in Space
Note: Notice how the circular top and bottom surfaces appear elliptical in these cylinders in space. The minor axes gradually increase as one goes further above or below the horizon line. More importantly, the minor axis of each individual cylinder's top surface is greater than that of its bottom surface, on moving further above horizon line. Reverse occurs below the horizon line.
Perspective Cylinders in Space
For this exercise again, you are only to feel the vanishing points and draw. As far as possible, avoid lifting the drawing tool and draw with minimum breaks to the line.
Challenge!!!
Try to practice some of the above exercises on a large surface (such as blackboard or whiteboard, etc.) OR with a tool change and shroud once you feel confident with your current level of competency.
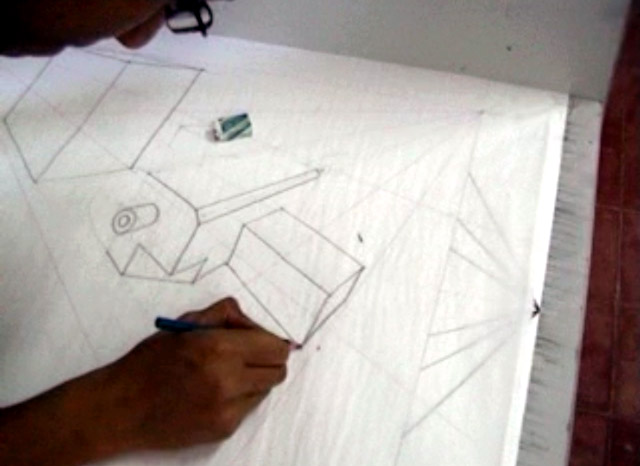
Simple objects in Perspective Space -video

Draw these simple objects in perspective space
< Workout Ends >
Sense of Perspective Space
Discussion: Rotating a Cube along a Horizontal Axis in Two-Point Perspective
The ellipse is used to rotate planes or solid figures.
Using the basesheets provided below, of 45 and 30-60 degree cubes with reference ellipses marked as underlays, draw the new rotated cube for both.
Today we will [Download... Base Cube with ref-ellipse-at 45 deg; Base Cube with ref-ellipse-at 30-60 deg], create Draw on tracing sheets to aid comparison by overlaying?
1. Aim: Rotating a Cube along a Horizontal Axis in Two-Point Perspective
(a) Plate with Filleted Bends
(Oriented at (i) 45 deg or
(ii) 30-60 deg to Picture Plane)
(b) Filetted Cube
(Cube is oriented at 45 deg to Picture Plane)
2. Set up:
Tracing sheets, measuring ruler.
3. Exercise:
Provided below are the Plans and 2 Side Elevations of
(a) Plate with Fillet

Image: Rotation of cube workheets
See the simple 'tilting' method discussed in the video below. Also overlay on correctly printed solution sheets and compare for accuracy. [Download...Base Cube with ref-ellipse-at 45 deg-solution; Base Cube with ref-ellipse-at 30-60 deg-solution]

Tilting a Cube in Two-Point Perspective
< Sense of Perspective Space and Day 23 End >